
How to Install a Fence in Osceola County: A Step-by-Step Guide
Building a fence does more than just mark where your grass ends and your neighbor’s begins. It gives you privacy for weekend barbecues, keeps your pets safe from the traffic on 192, and adds serious curb appeal to your home. But in Florida, you can't just dig a hole and drop in a post. Between our sandy soil and hurricane-season winds, proper installation is the difference between a fence that lasts 20 years and one that leans after the first summer storm.
Whether you're in St. Cloud, Kissimmee, or Poinciana, this guide walks you through the process of installing a fence that stands strong.
Do You Need a Permit to Build a Fence in Osceola County?
Yes, most residential fence projects in Osceola County require a zoning permit before you break ground. The application fee typically costs around $50 to $100, depending on the project scope, and approval usually takes 5 to 10 business days. Skipping this step can lead to code enforcement fines starting at $250 a day until the issue is fixed.
Before you buy materials, check your local zoning requirements. Generally, fences in the back and side yards can be up to 6 feet tall, while front yard fences are often restricted to 4 feet. If you live in a planned community like Celebration or specific HOA neighborhoods in Narcoossee, you’ll likely face stricter rules regarding style and color. We recommend getting your permit approved first to avoid wasting money on materials you can't use.
As one of the experienced fence companies Osceola County Florida residents trust, we always advise checking your property survey first. Building just six inches over your property line can turn a friendly neighbor into a legal headache.
Choosing the Right Fence Material for Florida Weather
Vinyl fencing lasts the longest in Florida, often exceeding 20-30 years because it doesn't rot, warp, or rust in the humidity. Aluminum is a close second for durability, while wood fences typically need replacement after 10-15 years due to sun exposure and termite pressure.
Here is a quick breakdown of what works best in our climate:
- Vinyl (PVC): This is the low-maintenance champion. It holds up against UV rays and heavy rain. It's excellent for a privacy fence installation because it creates a solid wall that blocks sightlines completely.
- Wood: Pressure-treated pine is affordable and offers a classic look. However, the intense Florida sun will dry it out, causing it to crack if you don't stain it every few years.
- Aluminum: This gives you the look of wrought iron without the rust. It’s great for security, but doesn't offer privacy.
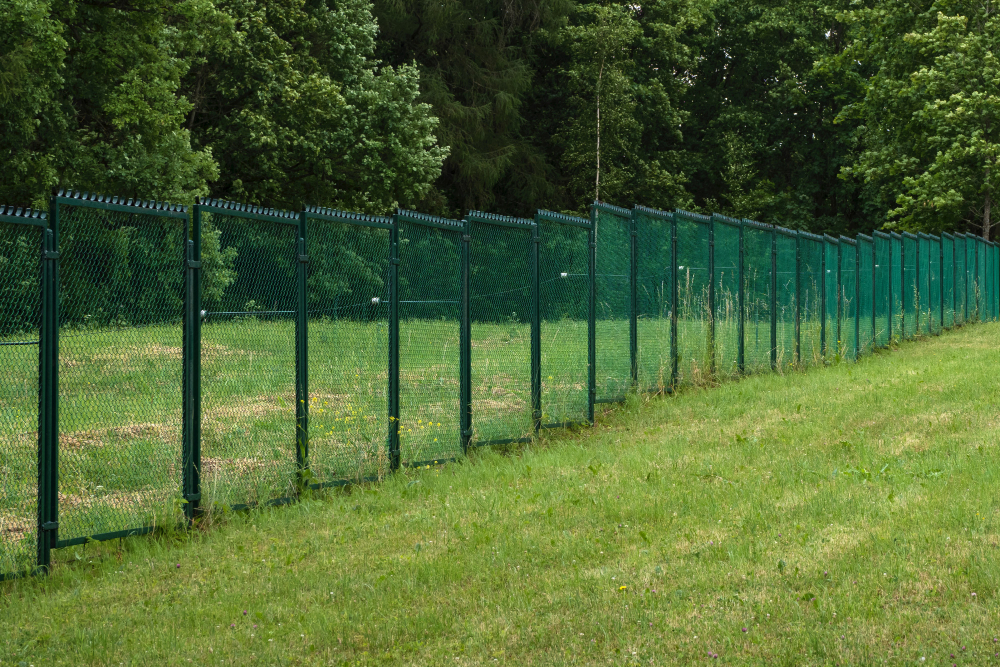
- Chain Link: Affordable and durable. It’s perfect for keeping pets contained without blocking the breeze.
Planning Your Layout and Materials
Locate the metal survey pins buried at the corners of your lot using a metal detector or refer to the boundary survey from your closing documents. Guessing your property line is a costly mistake that could force you to tear down your new fence if you encroach on a neighbor's land.
Once you know your lines, map out your fence. Mark your corner posts and gate locations with stakes and string. Measure the total linear footage to determine how much material to buy.
Pro Tip: Always buy 10% more lumber or materials than you think you need. We've seen plenty of DIY projects stall out on a Sunday afternoon because a few pickets split or a rail was cut too short.
Essential Tools Checklist
You'll need a post hole digger (clam-shell style), a 4-foot level, a string line, Quick-Crete (concrete mix), and corrosion-resistant screws. For materials, calculate your linear footage and ensure you have enough concrete—usually 1-2 bags per post, depending on the depth.
You can find these supplies at local hardware stores in Kissimmee or St. Cloud. If you're building a wood fence, make sure you buy "ground contact" rated lumber for the posts. Standard pressure-treated wood often isn't strong enough to sit in wet Florida soil for a decade.
Step-by-Step Installation Guide
Start by digging post holes 24 to 36 inches deep to ensure stability against Florida's sandy soil and strong thunderstorm winds. Set your posts in wet concrete, wait 24 hours for it to cure, and then attach your rails and pickets using a level to keep everything straight.
1. Digging the Holes
This is the hardest part. In Osceola County, the soil is often sandy, which means holes can collapse if you'ren't careful. Dig your holes about 8-10 inches wide. If you're installing a fence for a large area, renting a power auger can save your back, but be careful of tree roots.
2. Setting the Posts
Place your post in the hole and pour dry concrete mix around it, then add water (or mix it in a wheelbarrow first for a stronger set). Use your level to check the post on two adjacent sides. You want it perfectly plumb. Let the concrete cure for at least 24 hours before you hang any weight on it.
3. Installing Rails and Pickets
For a wood fence, screw horizontal rails between your posts. We recommend three rails for a 6-foot fence to prevent the boards from warping. Once the rails are up, attach your pickets. If you're doing a dog run fence installation, ensure the pickets are close enough that your pup can't squeeze through, or consider adding a bottom tension wire if you're using chain link.
4. Hanging the Gate
Gates are tricky. They need heavy-duty hinges to support the weight and a latch that lines up perfectly. Leave about an inch of clearance at the bottom so the gate can swing freely, even if the grass grows a bit high.
When to Call a Professional
Call a professional if your yard has significant slopes, you hit the water table while digging, or your layout involves complex gates. While DIY can save 30-40% on labor, professional installation ensures the fence stands up to hurricane-force winds and meets all local Osceola County codes.
We compare fence companies Osceola County Florida, homeowners often hire against DIY costs. When you factor in the cost of tool rentals, buying materials at retail prices, and the value of your weekends, hiring a pro is often more affordable than you'd expect. Plus, professional crews can often knock out a standard backyard fence in just 1-2 days.
Maintenance Tips for Florida Fences
Pressure wash vinyl and aluminum fences once a year to remove algae and mildew buildup caused by our humidity. For wood fences, apply a UV-resistant sealant/stain every 2 to 3 years to prevent the wood from turning gray and warping under the intense Orlando sun.
- Check for washout: Heavy summer rains can wash soil away from your posts. Backfill these spots immediately to keep the fence stable.
- Trim vegetation: Keep heavy vines and bushes off your fence. They trap moisture against the material and attract bugs.
- Inspect latches: Gates tend to settle over time. Adjust the hinges if the latch stops catching to keep your yard secure.
Secure Your Property Today
Installing a fence is a big project, but it adds immediate value and security to your home. Whether you tackle it yourself or hire a team, the key is proper planning and respecting the local soil conditions.
If you decide the digging and measuring is more than you want to handle, we're here to help. We have decades of experience navigating local codes and Florida terrain.
Ready to upgrade your backyard?
Call Wulff Fence today at (407) 745-8635 for a free estimate.