
Fence Installation Explained: A Step-by-Step Guide
Thinking about installing a new fence? It’s a great way to boost your home’s curb appeal, enhance security, and create a private oasis for your family. But understanding the installation process from start to finish can feel a bit overwhelming. From choosing materials to digging post holes, there are several important steps involved in getting the job done right.
This guide will walk you through the entire fence installation process, explaining what professional fence companies in Orlando do at each stage. By the end, you’ll have a clear picture of what to expect, helping you feel confident as you begin your project.
Planning and Preparation
Before a single post is set, a significant amount of planning takes place. This initial phase is crucial for ensuring the project runs smoothly and meets all local requirements.
Initial Consultation and Site Evaluation
The first step is a consultation with a fencing expert. During this meeting, a professional will visit your property to:
- Discuss your goals: Do you need a fence for privacy, security, pet containment, or aesthetics?
- Assess the terrain: They will examine the slope of your land, identify potential obstacles like trees or utility lines, and measure the perimeter.
- Recommend materials: Based on your needs and budget, they will present options like wood, vinyl, aluminum, or chain-link fencing.
This on-site evaluation is vital. What looks like a simple, flat yard can have subtle grading issues or underground utilities that only a trained eye can spot. A thorough assessment prevents costly surprises down the road.
Obtaining Permits and HOA Approval
In many parts of Central Florida, including Osceola County, a permit is required to install a fence. Professional fencing contractors are experienced in navigating this process. They will prepare the necessary paperwork, including site plans and project details, and submit it to the local building department on your behalf.
Additionally, if your home is part of a Homeowners Association (HOA), you will likely need their approval. HOAs often have specific rules regarding fence height, materials, and even color. A reputable company will be familiar with these requirements and can help ensure your project plan aligns with your community’s guidelines. Handling this paperwork correctly from the start prevents potential fines or the need to tear down a non-compliant fence.
Marking Utility Lines
This is a non-negotiable safety step. Before any digging begins, your fence company will contact 811, the "Call Before You Dig" service. This service alerts local utility companies to come to your property and mark the location of underground lines for electricity, gas, water, and internet. Hitting one of these lines is dangerous and can lead to expensive repairs and service outages. Professional installers always prioritize this step to ensure the safety of their crew and your property.
The Installation Process
With the planning complete and all approvals in hand, the physical installation can begin. A professional crew typically follows a systematic process to ensure a sturdy and long-lasting result.
Setting the Foundation: Posts
The posts are the backbone of your fence, and their proper installation is the most critical part of the build.
- Layout and String Lines: The crew will run string lines along the planned fence line. This creates a precise guide for placing the posts, ensuring the fence is perfectly straight.
- Digging Post Holes: Using professional-grade augers, the team will dig holes for each post. The depth and diameter of these holes are important; they must be deep enough to go below the frost line (even in Florida, this is a best practice for stability) and wide enough to accommodate a sufficient amount of concrete.
- Setting Posts in Concrete: Each post is carefully placed in its hole, checked for plumb (vertical straightness) with a level, and braced. Concrete is then mixed and poured into the hole around the post. This concrete footing anchors the post securely in the ground, providing the strength needed to withstand wind and prevent leaning over time. The concrete is typically left to cure for at least 24 hours before the next step begins.
Assembling the Fence
Once the concrete has set, the team returns to build out the rest of the fence. The method for this stage varies depending on the type of fence material you have chosen.
- Wood Fences: For wood fences, horizontal rails are attached to the posts. Then, individual pickets are nailed to the rails, one by one. The crew pays close attention to spacing to ensure a uniform and attractive appearance.
- Vinyl Fences: Vinyl fencing often comes in prefabricated panels. These panels slide into routed holes in the posts, and the rails lock into place. This modular system allows for a relatively quick and clean installation.
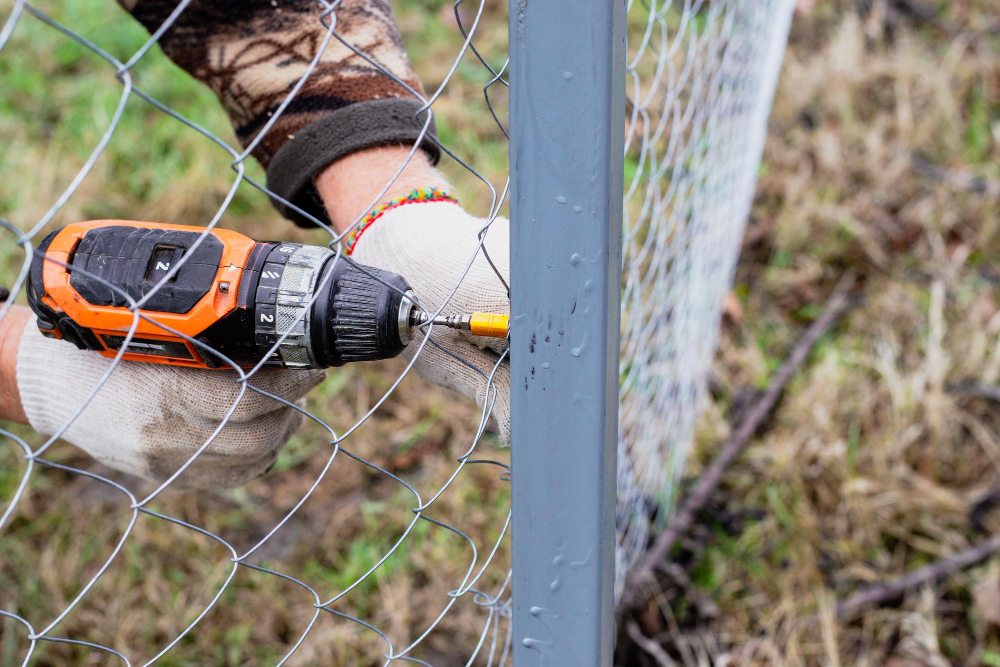
- Aluminum and Chain-Link Fences: These fences also use a system of posts and rails. For aluminum, panels are attached to the posts with brackets. For chain-link, a top rail is installed, and the mesh is stretched tightly between the terminal posts and secured with ties.
Gate Installation
Installing gates requires precision. A gate needs to be perfectly aligned to swing freely without dragging on the ground or binding against the latch post. The crew will install high-quality hinges and a reliable latch system, ensuring your gate is both secure and easy to operate. They will test it multiple times to confirm it functions correctly.
Finishing Touches and Final Inspection
The job isn’t finished just because the last panel is up. A professional company will complete several final steps to ensure you are completely satisfied with your new fence.
Site Cleanup
A key differentiator for top-tier fence companies in Osceola County, FL, is their commitment to leaving your property clean. The installation crew will remove all excess materials, dirt from the post holes, and any other construction debris. Your yard should look as good as, if not better than, when they started.
Final Walk-Through
Once the site is clean, the project manager will conduct a final walk-through with you. This is your opportunity to inspect the entire fence, check the gates, and ask any questions you may have. The contractor will address any concerns on the spot to ensure the project meets your expectations. This final approval signifies the completion of the project and is a crucial step for customer satisfaction.
Find the Right Partner for Your Fencing Project
Installing a fence is a significant investment in your property. While it may seem straightforward, each step—from planning and permitting to setting posts and cleaning up—requires expertise and attention to detail. Working with an experienced and reputable contractor ensures the job is done safely, correctly, and to a high standard, giving you a beautiful and durable fence that will last for years.
If you're looking for professional fence companies in Osceola County, FL, that you can trust to handle every step of the process, contact Wulff Fence today. We provide free, no-obligation estimates and are ready to help you build the perfect fence for your home.