
Vinyl fencing has become increasingly popular among homeowners who want a durable, low-maintenance solution for their property boundaries. Unlike wood fences that require regular staining and painting, vinyl fences maintain their appearance for decades with minimal upkeep. While many homeowners hire professionals for installation, tackling this project yourself can save you hundreds or even thousands of dollars.
Installing a vinyl fence is more straightforward than you might expect. With the right tools, materials, and patience, most homeowners can complete this project over a weekend. This guide will walk you through every step of the process, from planning and measuring to setting posts and hanging panels.
Before you begin, it's worth noting that while DIY installation is possible, certain situations may require professional expertise. Complex terrain, utility line concerns, or local permit requirements can complicate the process. Understanding when to call in professionals can save you time, money, and potential headaches down the road.
The success of your vinyl fence installation depends heavily on thorough planning. Start by determining the exact boundaries of your property using a survey or property deed. Many fence disputes arise from unclear property lines, so take time to verify these boundaries before purchasing materials.
Next, check with your local building department about permit requirements. Most municipalities require permits for fences over a certain height, typically 6 feet. While the permit process may seem tedious, it ensures your fence meets local codes and setback requirements.
Measure the perimeter where you'll install the fence, accounting for gates and any obstacles like trees or slopes. Add 10% to your material calculations to account for waste and potential mistakes. This extra material often proves invaluable during installation.
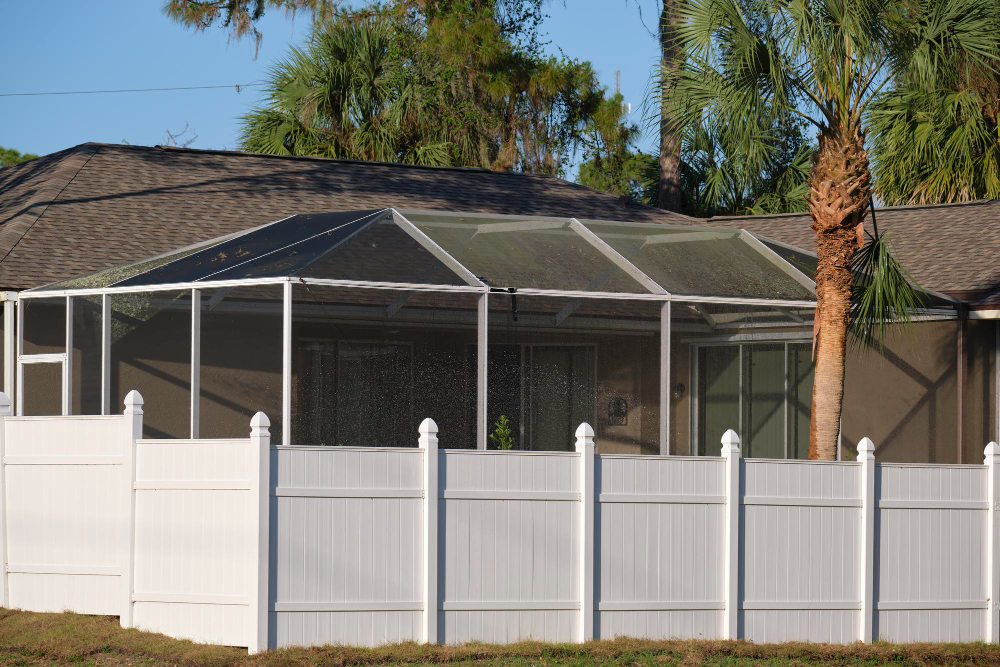
Consider the fence height and style that best suits your needs. Privacy fences typically stand 6 feet tall, while decorative or boundary fences may be 3-4 feet high. The style you choose will affect both material costs and installation complexity.
Gathering the right tools before starting will make your installation much smoother. You'll need a post-hole digger or auger, level, measuring tape, string line, stakes, and a rubber mallet. A circular saw or reciprocating saw will help you make precise cuts, while a drill with various bits will speed up assembly.
For materials, calculate the number of fence panels, posts, caps, and hardware based on your measurements. Most vinyl fence systems use 6 or 8-foot panels with posts spaced accordingly. Don't forget concrete mix for setting posts, gravel for drainage, and any additional hardware like gate hinges and latches.
Quality matters significantly with vinyl fencing materials. While cheaper options may seem attractive, they often lack UV protection and may become brittle over time. Invest in high-quality vinyl that includes UV inhibitors and impact modifiers for long-term durability.
Post installation forms the foundation of your entire fence, so take extra care with this crucial step. Mark post locations using stakes and string, ensuring they're properly spaced for your chosen panel width. Use a measuring tape to verify distances and adjust as needed.
Dig post holes approximately three times the width of your posts and one-third the height of your above-ground fence. For a 6-foot fence, dig holes 2 feet deep. Add 2-3 inches of gravel to each hole for drainage, which prevents water from pooling around posts and potentially causing frost heave.
Set corner and end posts first, as these anchor your entire fence line. Use a level to ensure posts are perfectly plumb in both directions. Mix concrete according to package directions and pour around each post, leaving 3-4 inches below ground level for soil coverage.
Allow concrete to cure for at least 24 hours before attaching panels. This waiting period may seem frustrating, but properly cured concrete ensures your fence remains stable for years to come.
Once posts are set and cured, panel installation moves relatively quickly. Most vinyl fence systems use brackets or slots that make panels easy to position and secure. Start with a corner and work systematically along your fence line.
Check each panel for level and plumb before securing it permanently. Vinyl panels can be slightly flexible, so ensure they're properly supported and not sagging. Use a rubber mallet to tap panels into position, avoiding damage from metal hammers.
Gate installation requires extra attention to ensure smooth operation. Install gate posts with additional concrete for stability, as gates create significant stress on their mounting points. Adjust hinges carefully and test gate operation before considering the job complete.
Several challenges commonly arise during vinyl fence installation. Sloped terrain requires either stepped or racked installation methods. Stepped installation creates a staircase effect, while racked installation follows the ground contour. Each method has advantages depending on your specific situation.
Utility lines present another potential complication. Always call your local utility marking service before digging. If utility lines run through your fence area, you may need to adjust your layout or hire professionals for installation near these lines.
Rocky soil can make post-hole digging extremely difficult. In such cases, you might need to rent a power auger or consider alternative post-setting methods. Sometimes, switching to a different fence style or hiring professionals becomes the most practical solution.
While DIY vinyl fence installation is certainly possible, certain situations warrant professional expertise. If your property has significant slopes, multiple elevation changes, or complex layouts, professionals can navigate these challenges more efficiently.
Large projects covering extensive areas may also benefit from professional installation. Contractors have specialized equipment and experience that can significantly speed up the process. When time is a critical factor, professional installation often proves worthwhile.
If you encounter unexpected challenges during your DIY project, don't hesitate to seek professional assistance. Sometimes a consultation can get your project back on track without requiring full professional installation.
Proper maintenance ensures your vinyl fence provides years of reliable service. While vinyl requires less maintenance than wood, periodic cleaning keeps it looking new. Use mild soap and water for routine cleaning, avoiding abrasive cleaners that can damage the surface.
Inspect your fence regularly for loose panels, damaged brackets, or other issues. Addressing small problems quickly prevents them from becoming major repairs. Pay special attention to gate hardware, which experiences more wear than stationary fence components.
Winter weather can affect vinyl fencing, particularly in areas with freeze-thaw cycles. Ensure proper drainage around posts and avoid piling snow against fence panels, which can cause unnecessary stress.
Vinyl fence installation can be a rewarding DIY project that adds value and privacy to your property. With proper planning, quality materials, and attention to detail, most homeowners can achieve professional-looking results.
However, don't underestimate the complexity of certain installations or the value of professional expertise. If you encounter challenges beyond your comfort level or simply prefer professional installation, experienced contractors can ensure your fence is installed correctly the first time.
If you need professional fence repair in Orlando, FL, contact Wulff Fence today for free estimates. Their experienced team can handle everything from simple repairs to complete fence installations, ensuring your property gets the quality fencing it deserves.